DIY Balcony Solar UK: Complete Guide
Install your own plug-in solar system with our step-by-step guide.
How Much Could You Save?
Get a personalized estimate based on your location and balcony orientation.
Calculate My Savings2026 UK Rule Changes
March 2026 marked a significant milestone for plug-in solar in the UK. The Energy Secretary announced new legalisation and standardisation of plug-in solar kits:
- BS 7671 Amendment 4 - New electrical wiring regulations set safety requirements for plug-in solar kits
- 800W Limit - Systems capped at 800W to prevent overheating home wiring
- G98 Notification - You have 28 days to notify your Distribution Network Operator after plugging in
- CE/UKCA Marking - Only buy kits with CE or UKCA marking for safety compliance
- Anti-Islanding Protection - Vital safety feature that prevents power from flowing when unplugged
These changes provide clearer regulations and safety standards for UK homeowners.
Why DIY Installation Makes Sense
Most balcony solar systems are designed for DIY installation for good reasons:
- No electrician needed - Plug-and-play design
- Save money - Skip £100-£200 installation fees
- Simple mounting - Basic tools only
- Portable - Take it with you when you move
- Understand your system - Easier to maintain and troubleshoot
Here's what you need to know before getting started.
Basic Components
Your DIY kit will include (or you'll need to source):
Solar Panels
1-4 panels depending on your system size (400W-800W typically)
Microinverter
Converts DC to AC and manages the system
Mounting Hardware
Brackets, clamps, and fixings for your panels
Tools Youll Need
- Drill - If mounting to walls or railings
- Screwdrivers - Phillips and flathead
- Socket spanner set - For panel bolts
- Level - To ensure panels are straight
- Measuring tape - For spacing
- Step ladder - If working at height
Step-by-Step Installation
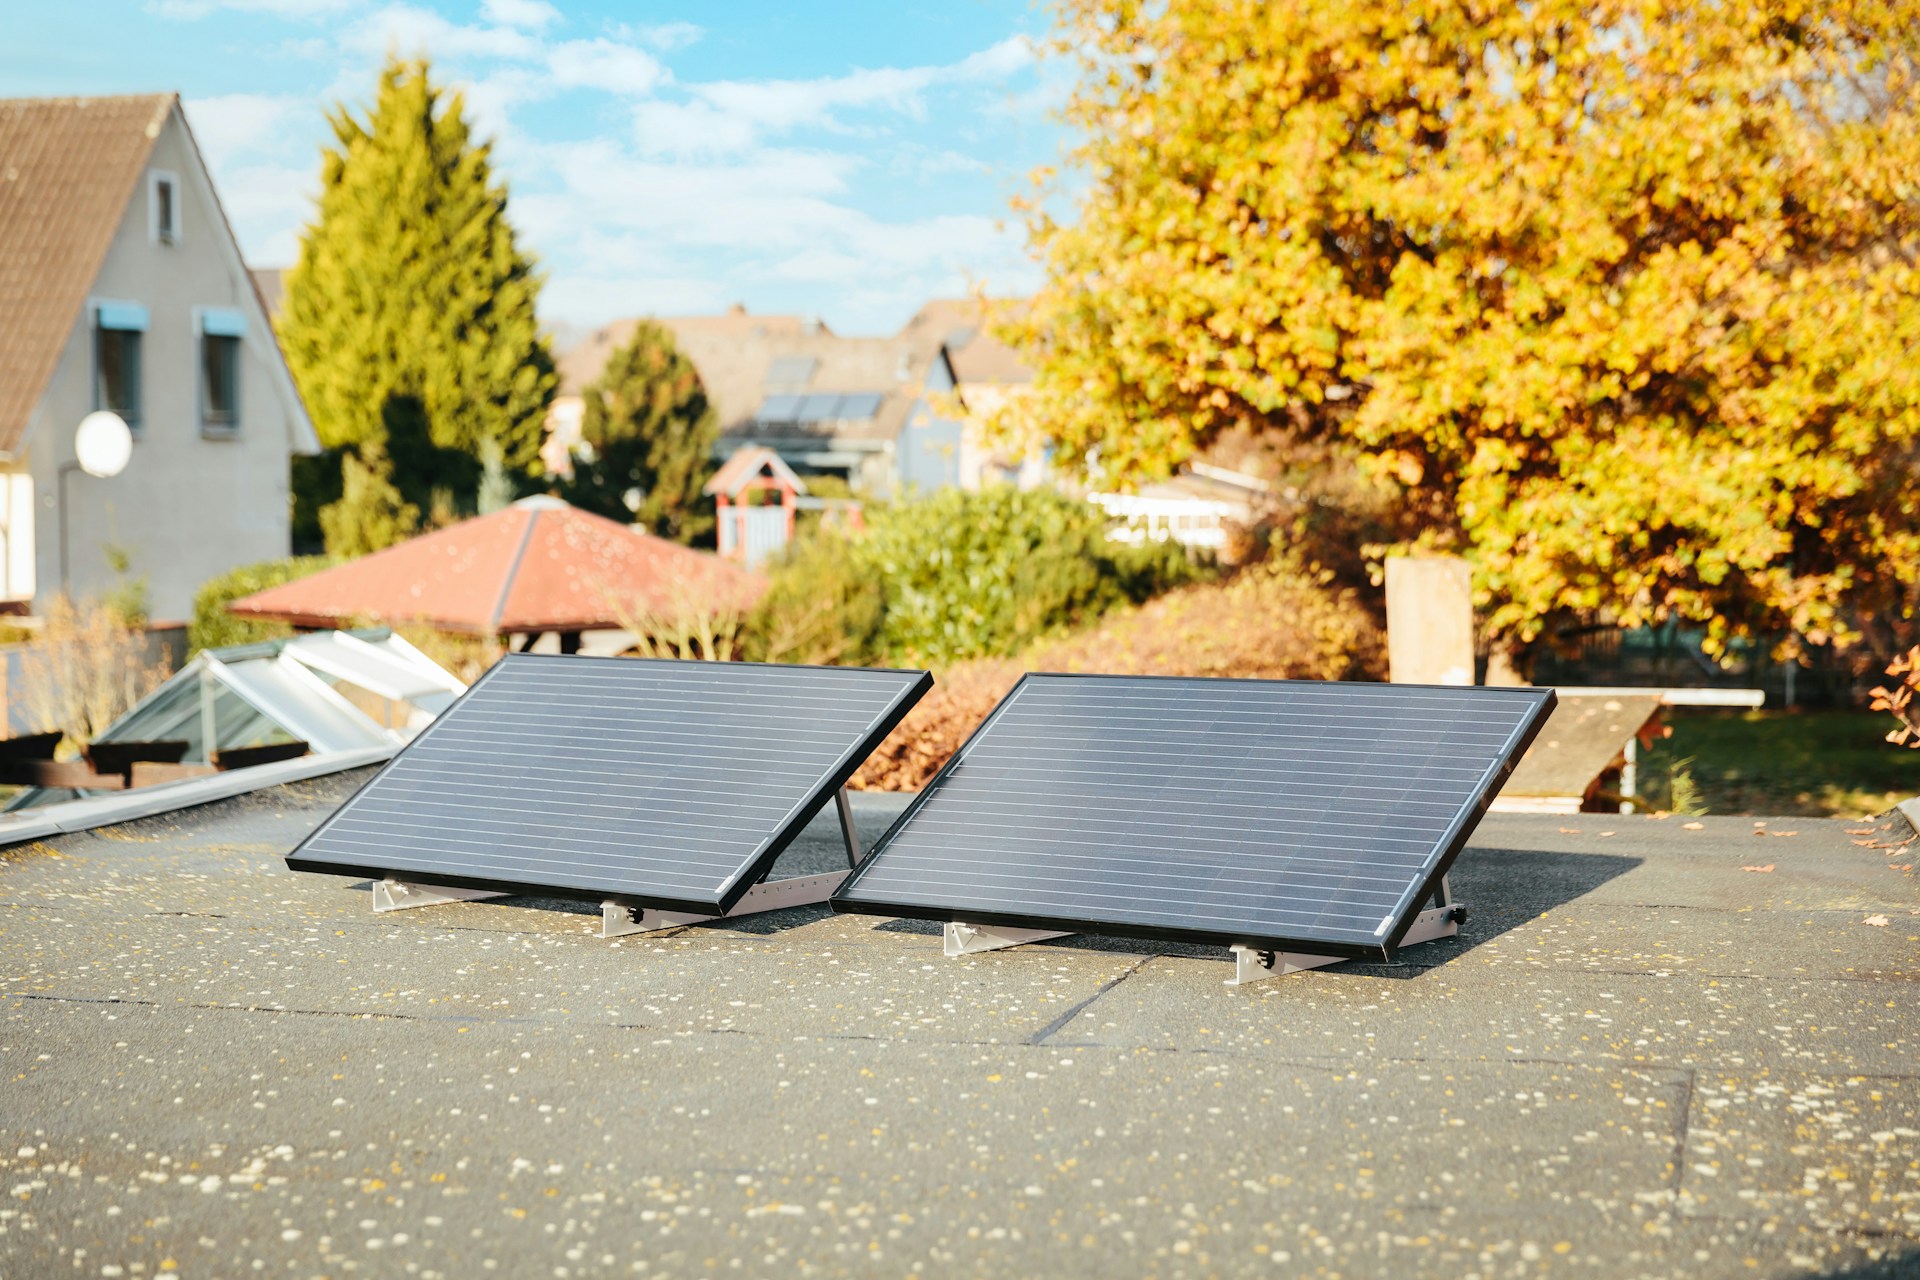
Step 1: Choose Your Location
Find a spot that gets maximum sunlight. Consider:
- South-facing is ideal
- Avoid shadows from buildings or trees
- Ensure secure mounting point
- Consider wind exposure
Step 2: Prepare the Mounting Area
Clean the area and ensure:
- Mounting surface is solid
- You have correct fixings for your surface
- Panels will be secure in winds
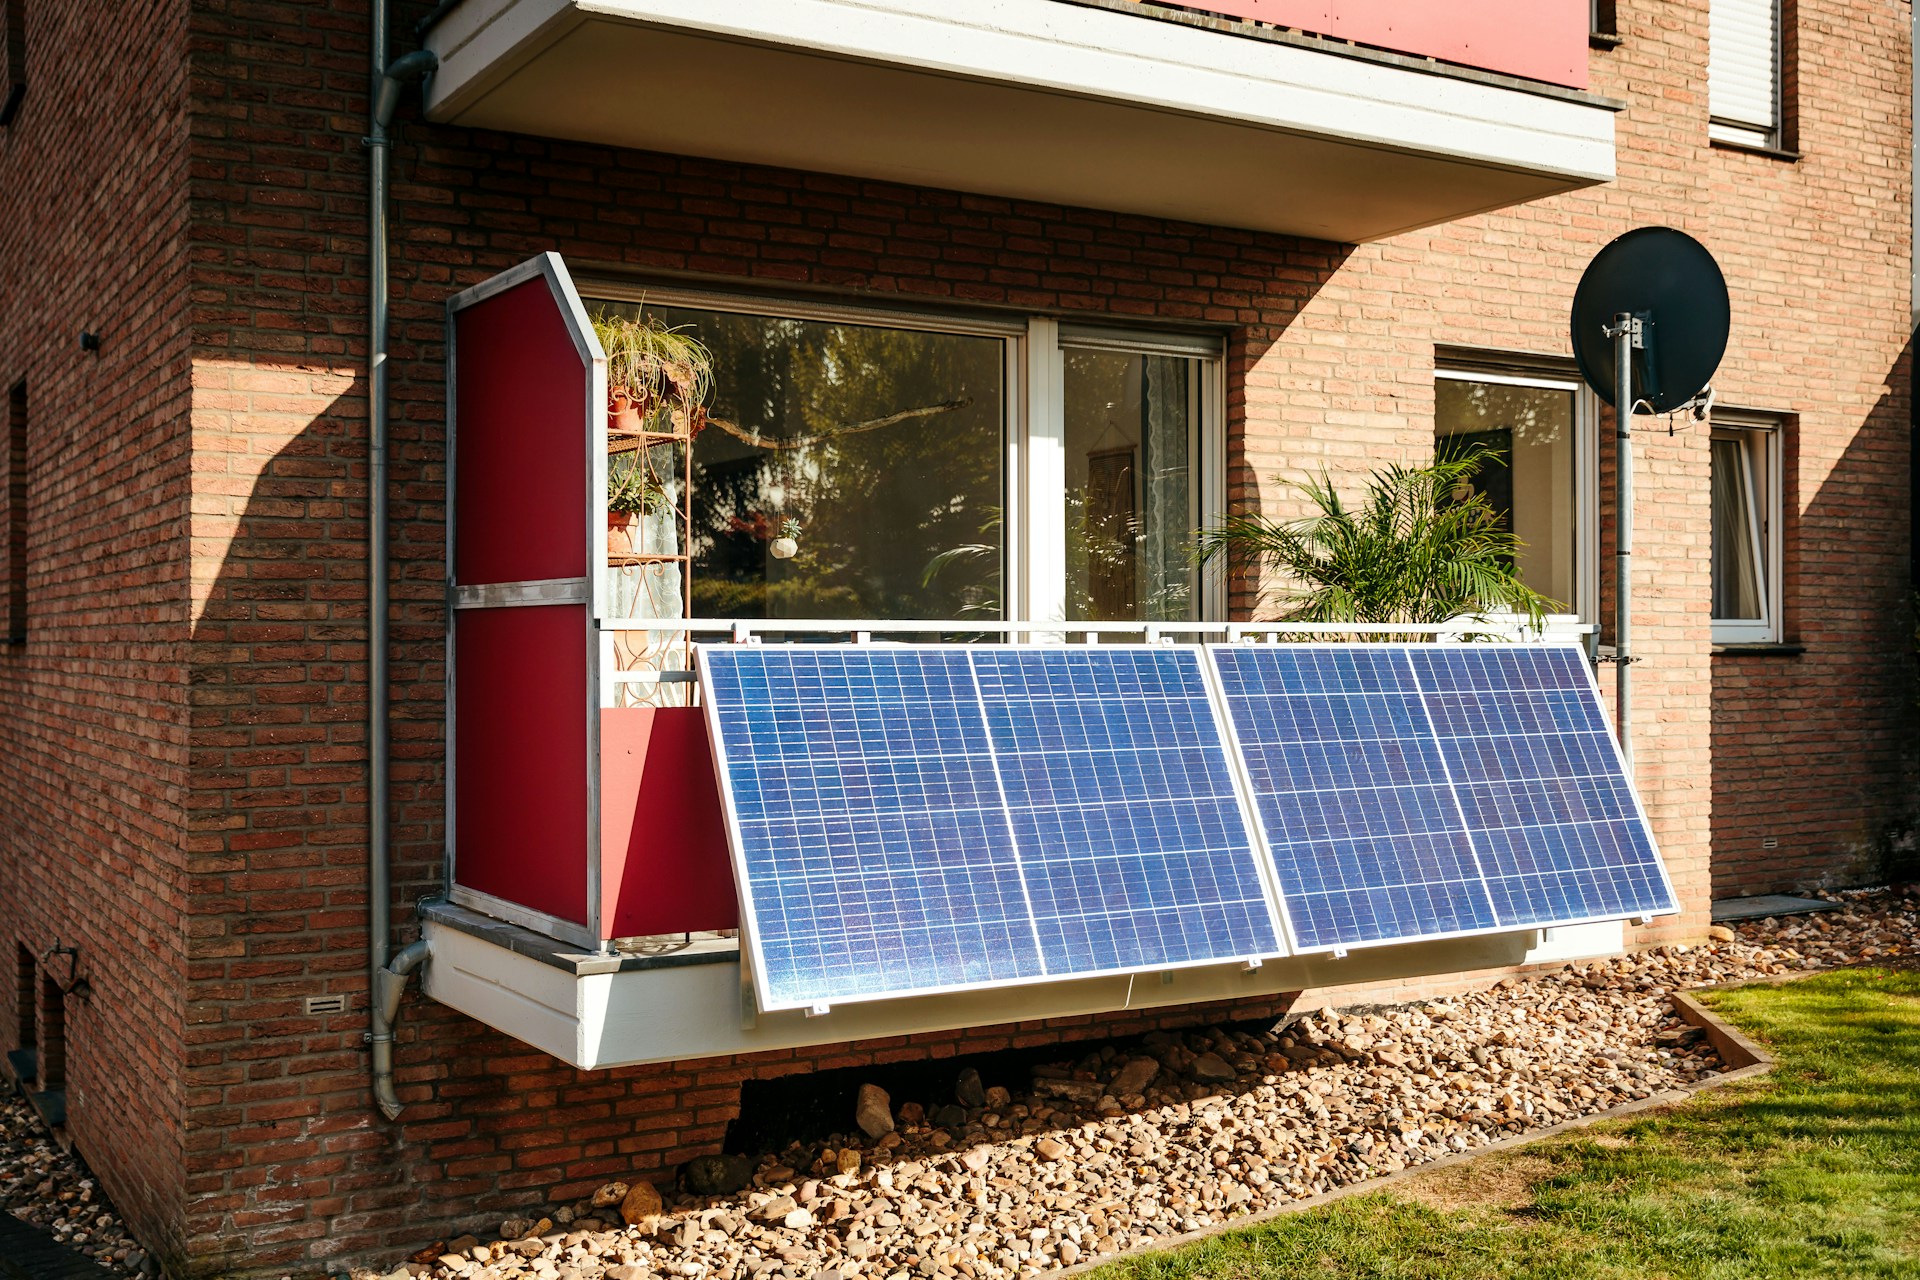
Step 3: Mount the Panels
Follow your kit instructions. General steps:
- Attach mounting brackets to the panel frame
- Position brackets on your balcony railings or wall
- Secure with appropriate fixings
- Check panels are level
Step 4: Connect the Microinverter
- Attach microinverter to panel or mounting frame
- Connect DC cables from panels to microinverter
- Ensure connections are secure and weatherproof
Step 5: Connect to Power
- Run AC cable to nearest suitable socket
- Ensure socket has RCD protection
- Plug in and switch on
Step 6: Check Everything Works
- Check the app or indicator lights
- Verify generation in first few hours
- Monitor for any fault indicators
Safety Considerations
- Always turn off power before making any connections
- Use RCD protection - Your socket must be protected
- Secure all cables - Prevent trip hazards
- Check weight limits - Ensure balcony can support the system
- Work safely at height - Use proper equipment
- Check your consumer unit - Ensure you have RCD protection
Typical Costs
| Item | DIY Cost | With Installation |
|---|---|---|
| 400W Kit | £300-£400 | £400-£500 |
| 800W Kit | £500-£700 | £600-£850 |
| Tools (if needed) | £0-£50 | Included |
| Total | £300-£750 | £400-£900 |
Time Required
Most DIY installations take 1-4 hours depending on:
- System size (400W vs 800W)
- Mounting complexity
- Your experience level
- Whether you have all tools
Calculate Your Savings Potential
Get a better idea of how much you could save by using our calculator.
Use the Balcony Solar CalculatorFrequently Asked Questions
Summary
- DIY installation is straightforward for most systems
- No electrician required for plug-and-play kits
- Typical savings of £100-£250 per year
- Installation takes 1-4 hours
- Tools needed are basic
- Get your personalized estimate with the calculator
Calculate exactly how much you could save from DIY installation.
Calculate My Savings